You can use the Formatting panel in Publish Pro to change the appearance of the visuals and panels included in your publication. If your visual is not linked to a Discovery (it has been "unlinked"), you can edit all relevant formatting options, including Panel Settings. If your visual is linked to a Discovery, or is a visual area from Tabulate, you can only format the Panel Settings in Publish; any other formatting (for example, editing the text for your legend) must be done in the linked app.
Note: When you change formatting options inside a publication, your changes only impact that publication. When you open the linked visual in its source app, any formatting changes you make apply anywhere the visual appears.
- Click here to learn how to unlink content
Opening the Formatting Panel
Formatting Selection Tool
The Formatting panel can be opened and pinned as needed.
-
From the left-hand Toolbar, click Formatting Selection.

This transforms the canvas into an intuitive, point-and-click formatting area. Hover your cursor over the content items on the canvas to highlight them for selection.
-
Click the content item that you want to format.
Clicking an "activated" component opens its formatting options in the Formatting panel.
- Update the formatting options as appropriate to your requirements.
The options that are selected in the Formatting panel depend on the content item that you have selected. For details about the options in this panel, see Formatting Panel.
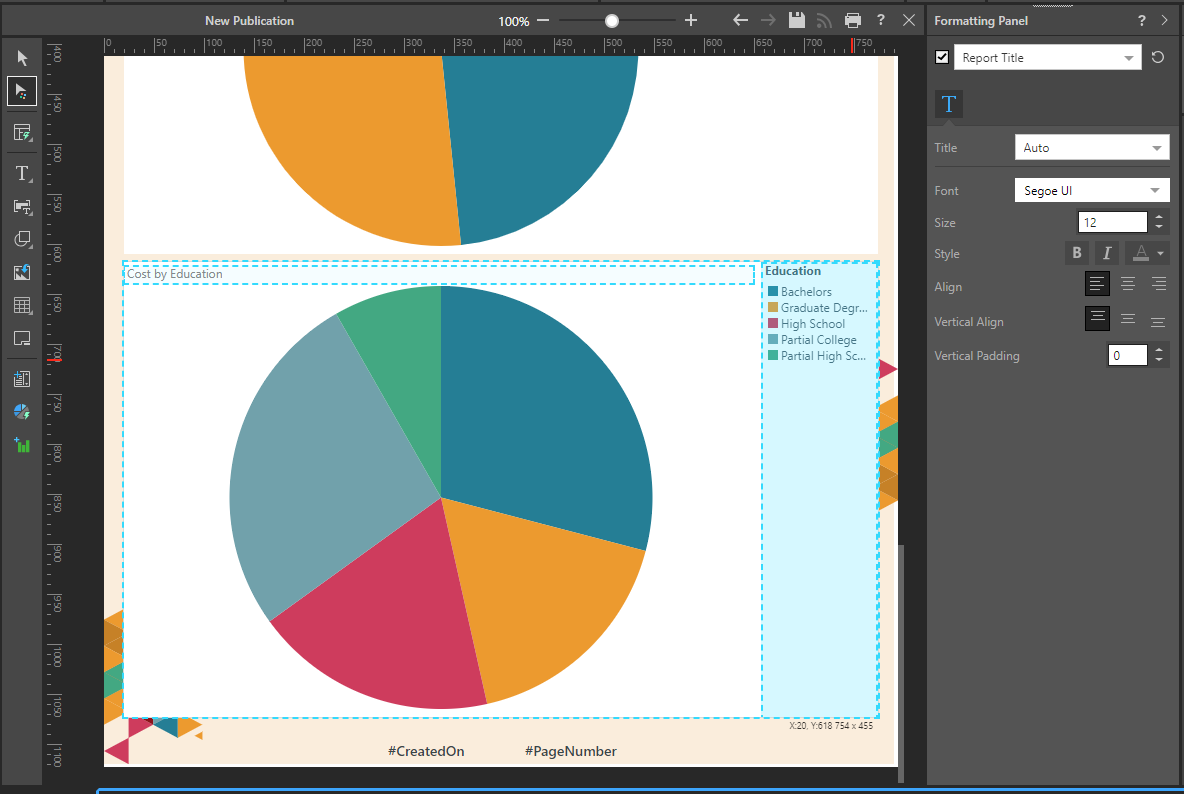
When in the formatting selection mode, selected editable items are displayed with a blue border:
Formatting Panel
Unlinked Discovery
|
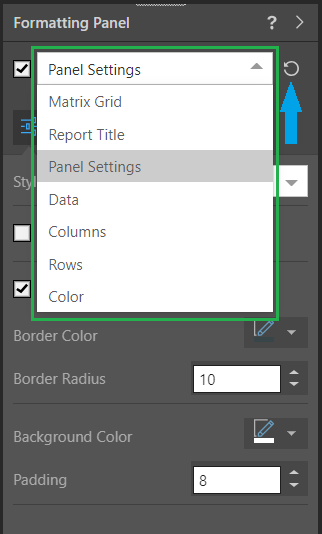
Where the selected visual is local to this publication (that is, it is part of this publication and not linked to a Discovery), you can edit any of its formatting in Publish. Because the visual is unlinked, your formatting changes in Publish will not affect the original visual in Discover. For unlinked visuals, the Formatting panel contains a Component drop-down list (green highlight), which allows you to select:
Notes:
|
Linked Discovery or Other Type
|
The Component drop-down list (see previous) is locked where the selected visual is:
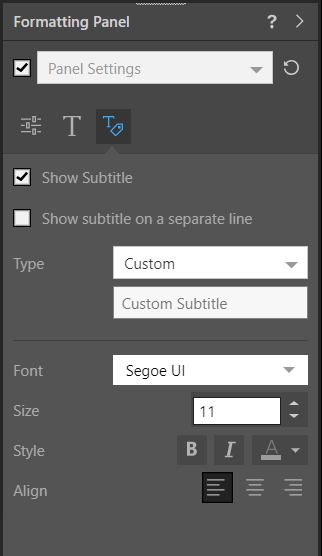
In these cases, only the publication-specific formatting options are offered in Publish. You can use the Panel Settings options to format the panel containing the visual when it is shown in the publication, indicating its general look and feel, and the look and feel of its title and subtitle. If you want to make other formatting changes to a visual of this type, you can either:
|
Formatting Settings
The Formatting panel is available in Discover, Present, Publish, and Tabulate. In each of these modules, the Formatting panel shows some or all of the same formatting options. For details about applying various formatting changes to different visualization types, review the documentation in the Discovery Pro section: Formatting Panel.
In addition to the common Formatting panel content, Publish Pro also offers formatting options relating to the panels that you include on your pages. For information about these settings, see Panel Settings.